You’re ready to start a blog. Errmmm… at least, in your head, you’re ready to start a blog! Woohoo!
Sooo… what’s stopping you? Oh, right. It’s the whole “starting a blog” part of starting a blog. That can definitely be a big hang-up. I totally get it!
It wasn’t too long ago that I looked at bloggers and web developers as some sort of mythical creatures who must surely have more brains smushed (is that actually a word?) into their skulls than 99.99% of the population. I mean, creating a website is basically rocket science, am I right?!
Umm, no. I was not at all correct. After all, even I’m a web developer now! But guess what? You don’t have to be a web developer to learn how to start a blog or build a website. It’s super simple these days! It can be summed up in six simple steps:
- Choose a domain name and hosting provider.
- Install WordPress.
- Choose a theme.
- Customize your blog.
- Install some plugins.
- Publish awesome content that will bring your readers back for more!
Let’s get started!
Did you grab your FREE step-by-step WordPress guide yet?
Step 1 of How to Start a Blog: Choose Your Domain and Hosting
There are a ton of hosting providers out there! Don’t get overwhelmed by the options. I recommend BlueHost because they:
- Provide incredible customer service,
- Offer extremely affordable hosting plans, and
- Give you a free domain name with your hosting plan.
Make sure you use this link to receive up to 50% off your hosting plan!
Recommendations for your domain name:
Your domain name is like your address in the world of the interwebs. Make it memorable! Your domain should:
- Be easy to remember
- Sound short and sweet, whenever possible
- Use .com or .co (avoid .net, .biz, .org, etc.)
Many people (including yours truly!) stick with their name, if it’s available. If it’s not, pick something that aligns with your blog idea, then roll on!
Purchase your hosting:
Like I mentioned previously, I only recommend BlueHost. Don’t forget to click here to save on your hosting plan!
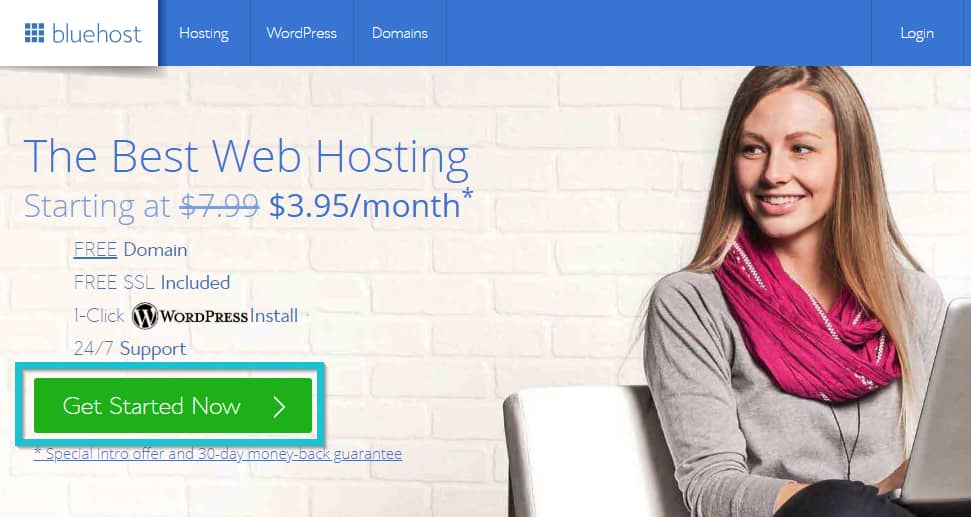
- Click on the “Get Started Now” button.

- Select your plan. “Basic” is perfect for you if you only plan to have one blog right now!
- Choose your free domain (or enter your existing domain, if you purchased it elsewhere).
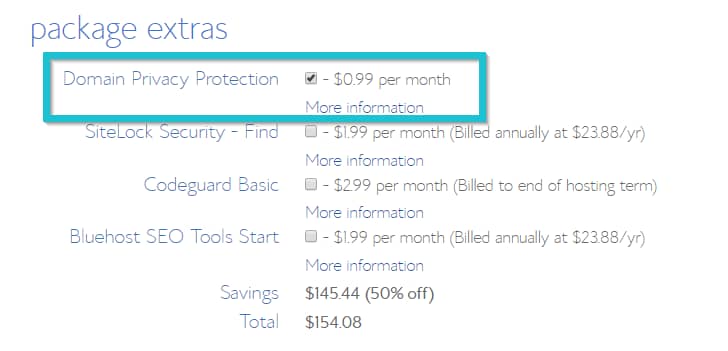
- Provide your account information. Choose any extras you might want. Note: I recommend purchasing the Domain Privacy Protection to protect your private information, like your home address.

- Enter your payment info, click “Submit,” and voila! You are now the proud owner of a website!
Step 2 of How to Start a Blog: Install WordPress
In your BlueHost dashboard:
- Click on “Marketplace” in your left-hand menu.
- Scroll down until you see “Featured Products.”
- Click on “One-click Installs.”
- Click on the “Install” button for WordPress

Follow the next few prompts, and you’ll have WordPress installed before you know it!
When your setup is complete, click the “Login to WordPress” link to access your WP Admin dashboard.

Step 3 of How to Start a Blog: Choose Your Theme
Boy, oh, boy. There are so many themes available! Don’t be overwhelmed by the options.
There are many free and paid themes available.
Ultimately, no matter which theme you pick, you’ll customize it to your own liking–you’ll change the fonts, the color scheme, the photos, the layout… basically, it will probably look nothing at all like the theme’s demo by the time you’re done with it!
I recommend OceanWP. You can search for this theme directly within your WP Admin dashboard (Appearance → Themes → Add New).
OceanWP is super versatile, and it works well with my favorite page-builder (we’ll get to that part in a minute!). Best of all, the free version is incredible! There is a paid version you can purchase here if you’d like even more awesome features.
Step 4 of How to Start a Blog: Customize Your Blog
This is where the fun really begins!
Navigate to “Appearance,” then to “Customize.” A new menu will appear, along with a view of your home page.
Go through each of the options in the customization menu. Note: if you used a theme other than OceanWP, you’ll probably see some different options than the ones shown in the screenshot here.
If you’re not sure what something is, feel free to leave it be! You can always come back to it later to make changes once you figure out what it is.

Step 5 of How to Start a Blog: Install Plugins
You might be wondering, What the heck is a plugin? Great question!
Plugins help make awesome WordPress websites even awesomer–I mean, even more awesome–without a bunch of custom coding. Here are my favorites (all with free versions available!) that I install on all of my sites:
- Elementor: My favorite drag-and-drop page builder! This page builder makes it easy to customize your layout. Best part? It’s free! Want to learn more about Elementor? Check out this post!
- Ocean Extra: If you are using OceanWP, you’ll definitely want to install Ocean Extra.
- Yoast SEO: This is a great plugin that helps with SEO (read: it helps your content to be found by search engines).
- Ninja Forms: Use Ninja Forms to create your contact forms.

Step 6 of How to Start a Blog: Create Awesome Content!
Okay, you’ve got everything in place! Time to celebrate!
Now all you need to do start creating content. Write two or three blog posts, then share it with the world!
Continue to produce amazing content that your audience craves, and you’ll soon have a dedicated following that will be chomping at the bit to see what you’ll produce next.
Happy blogging!

